Fly Tying Diaries: Woolly Bugger

I attended a fly tying class at my local fly shop, Living Waters Fly Fishing, where I learned how to tie the Woolly Bugger fly pattern from a nice gentleman named Clint. He had a really cool hand-painted trout on his vise base.
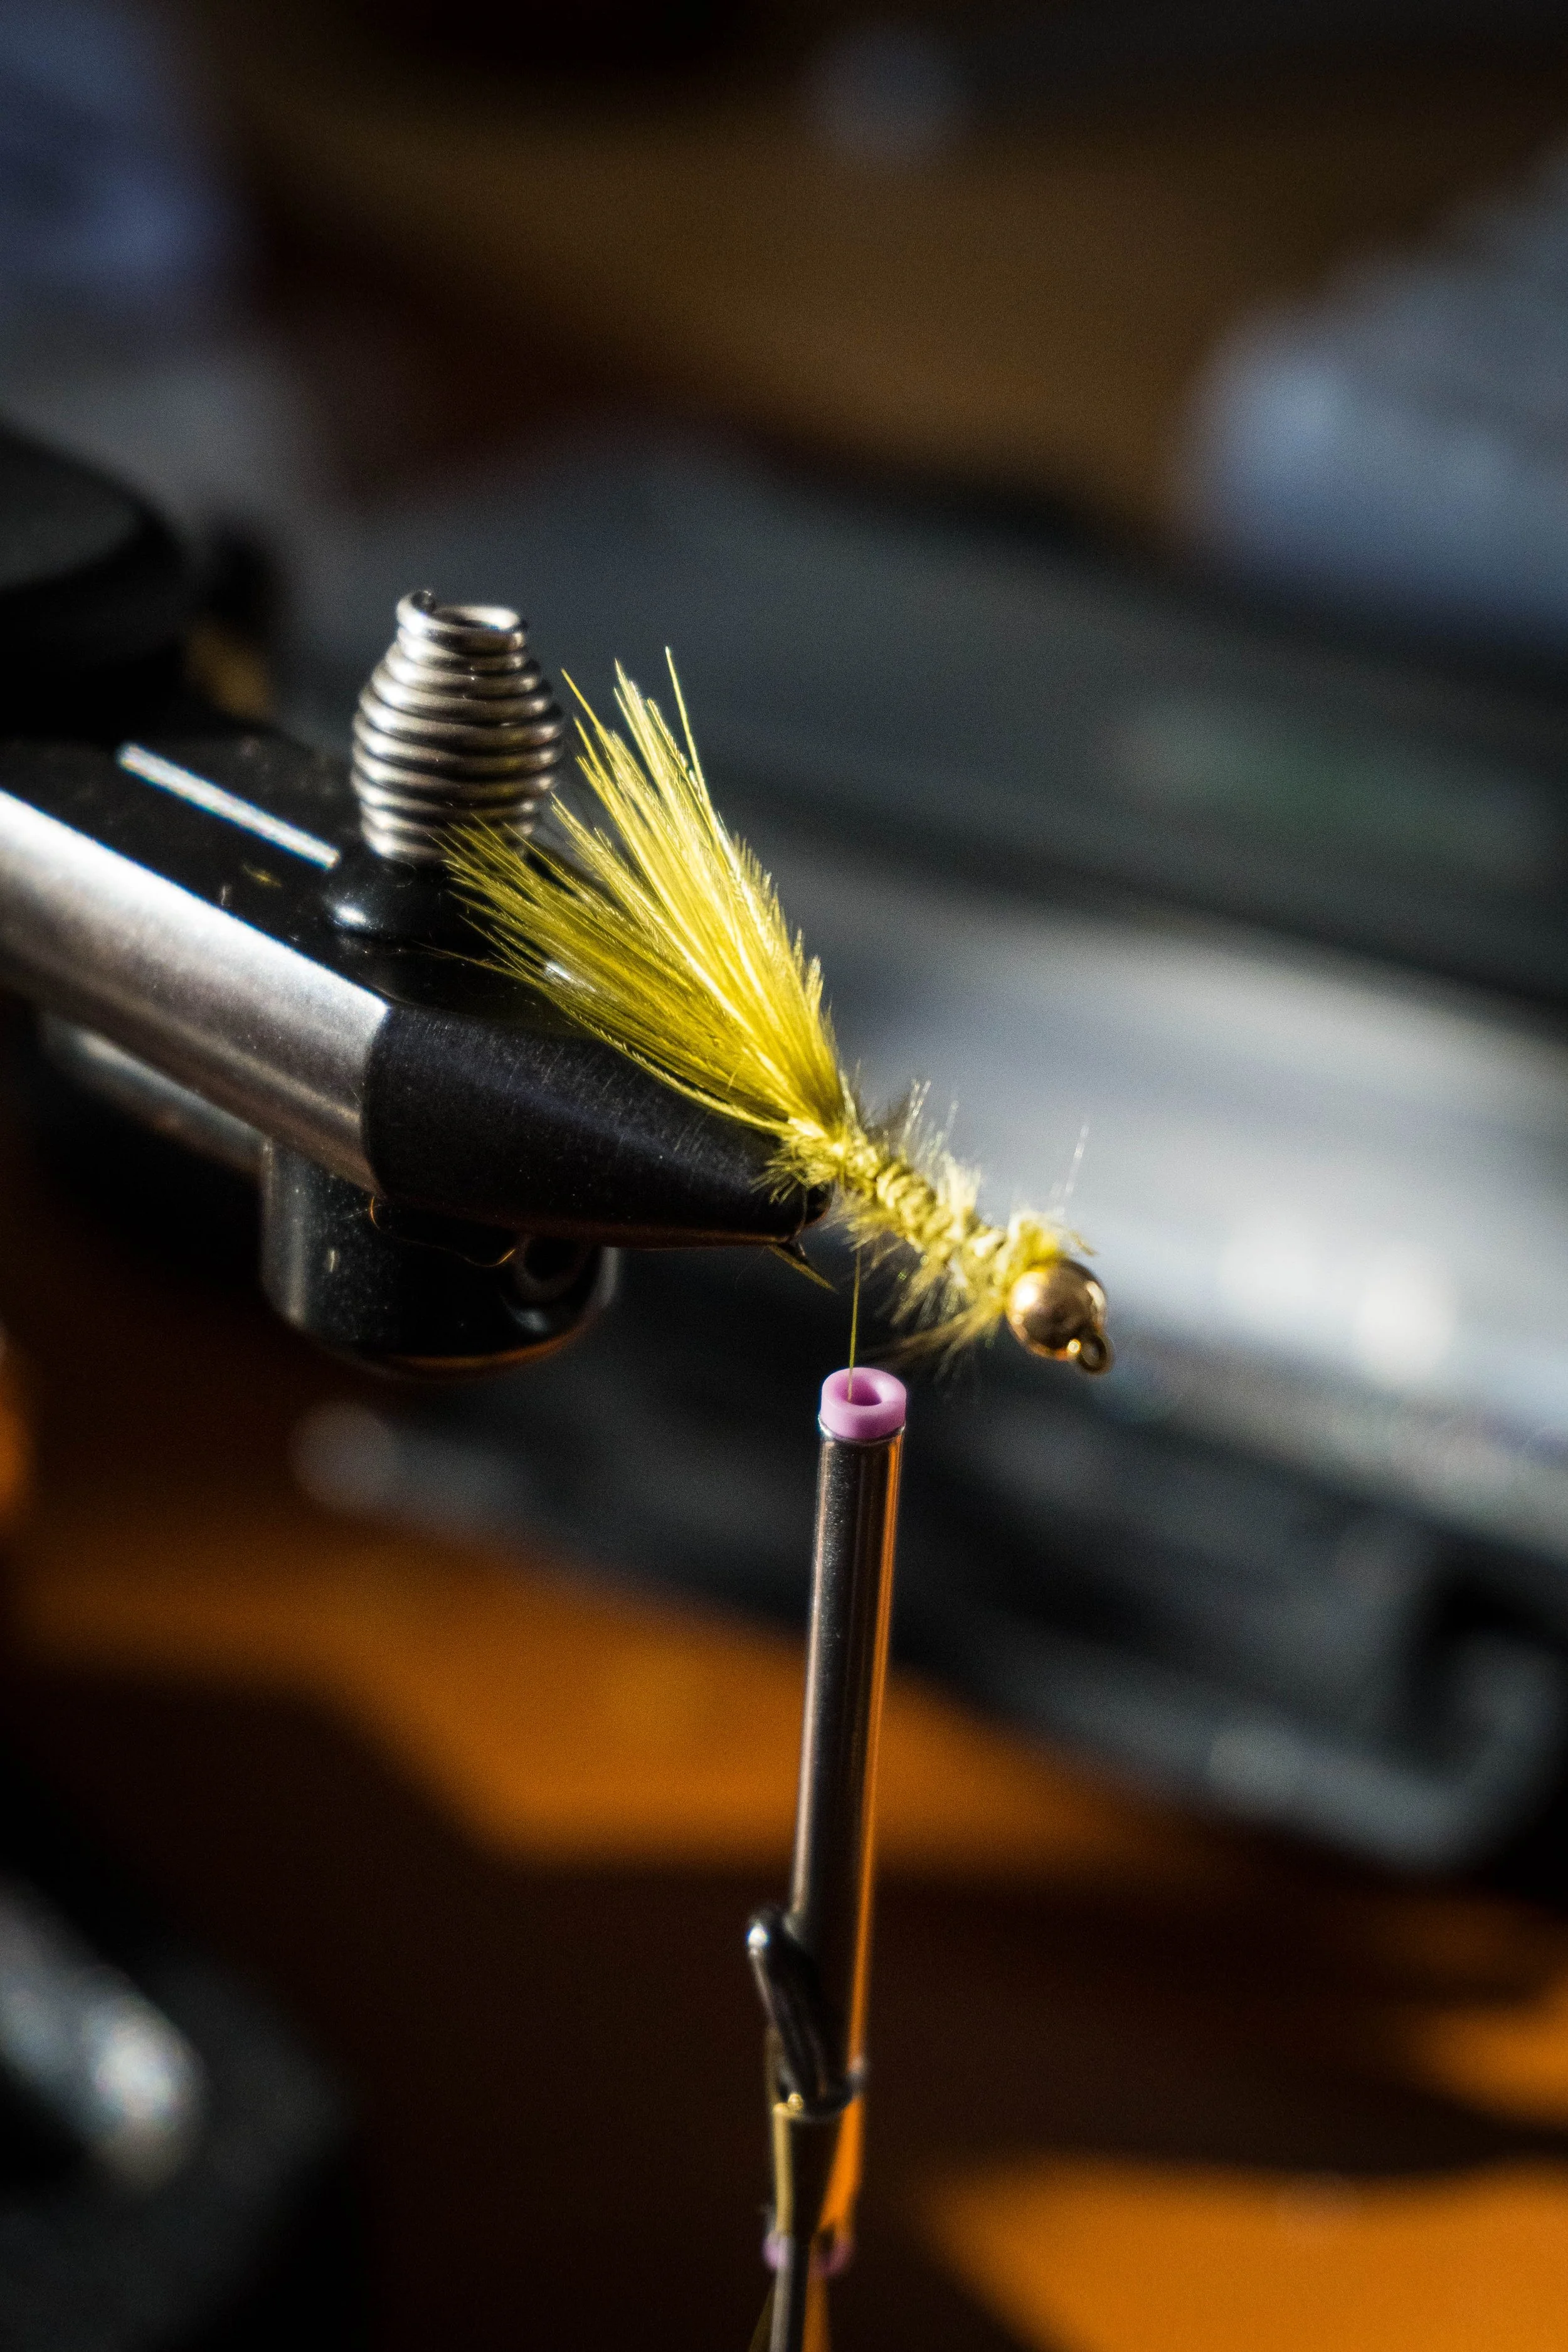
This pattern is by far one of my favorites I've done. I'm still very much a beginner, but I really love getting in the zone once you know what materials you need, and the steps to take to bring a fly to life with feathers, thread, beads, and hooks.
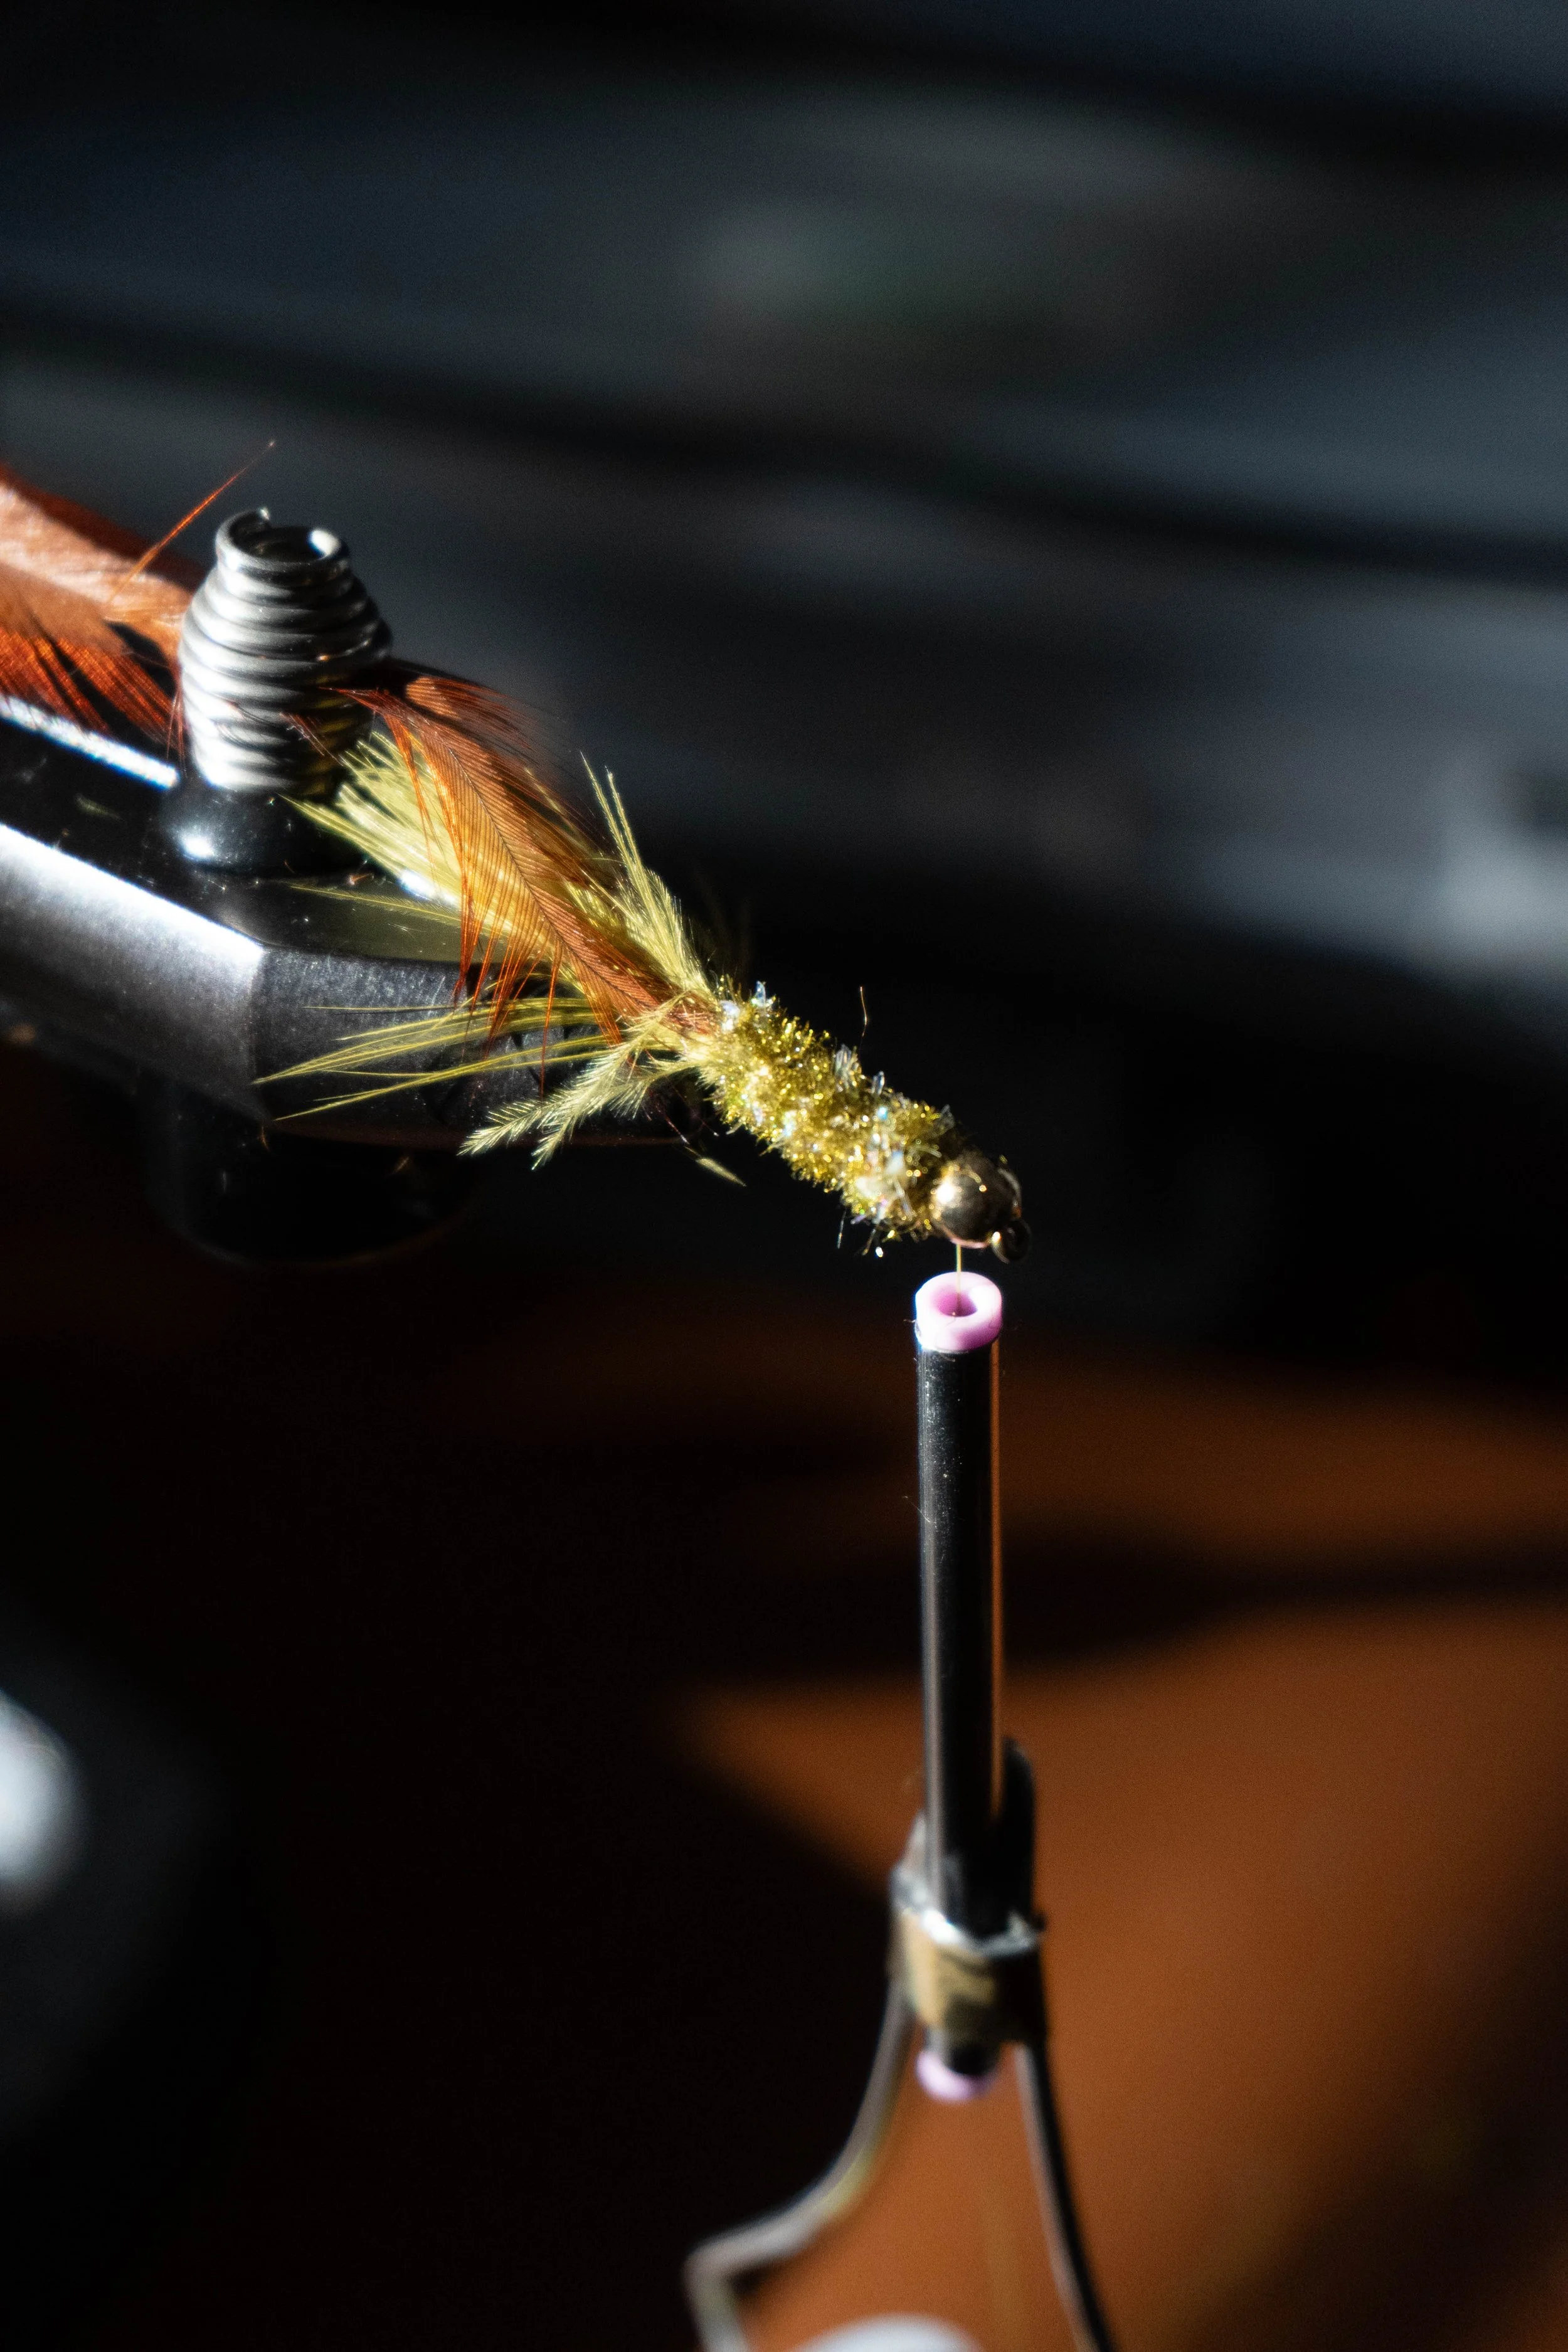
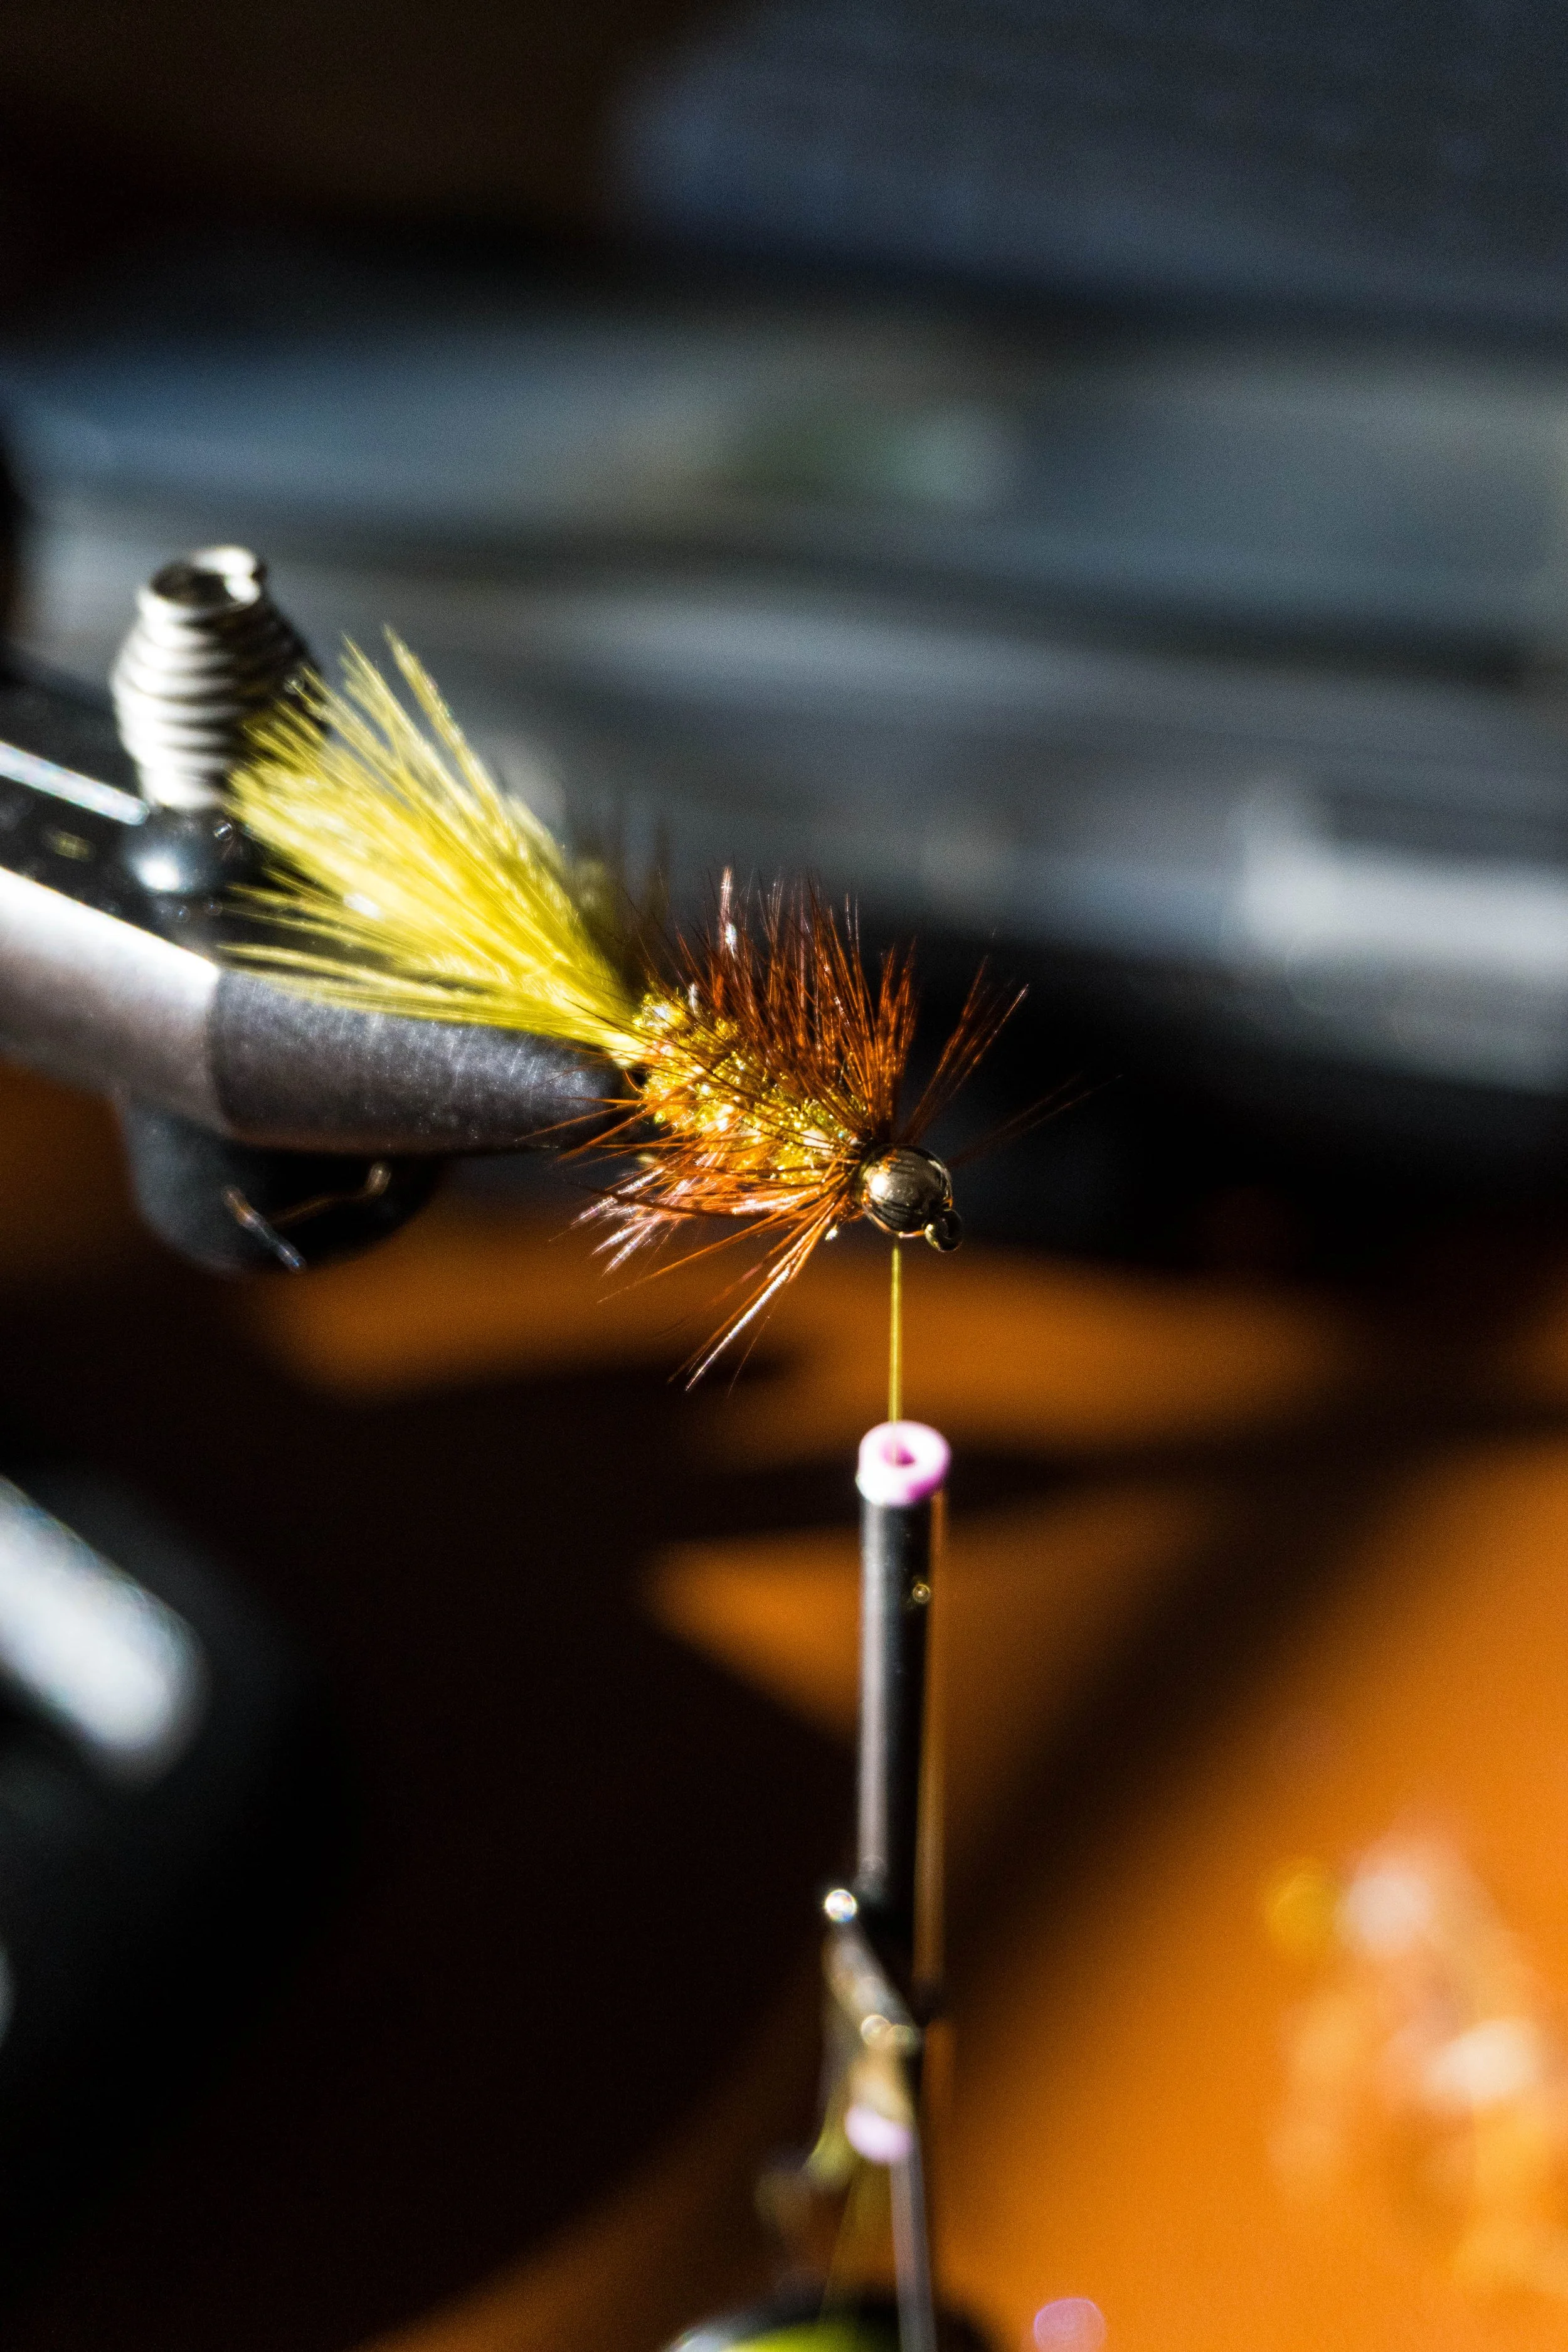
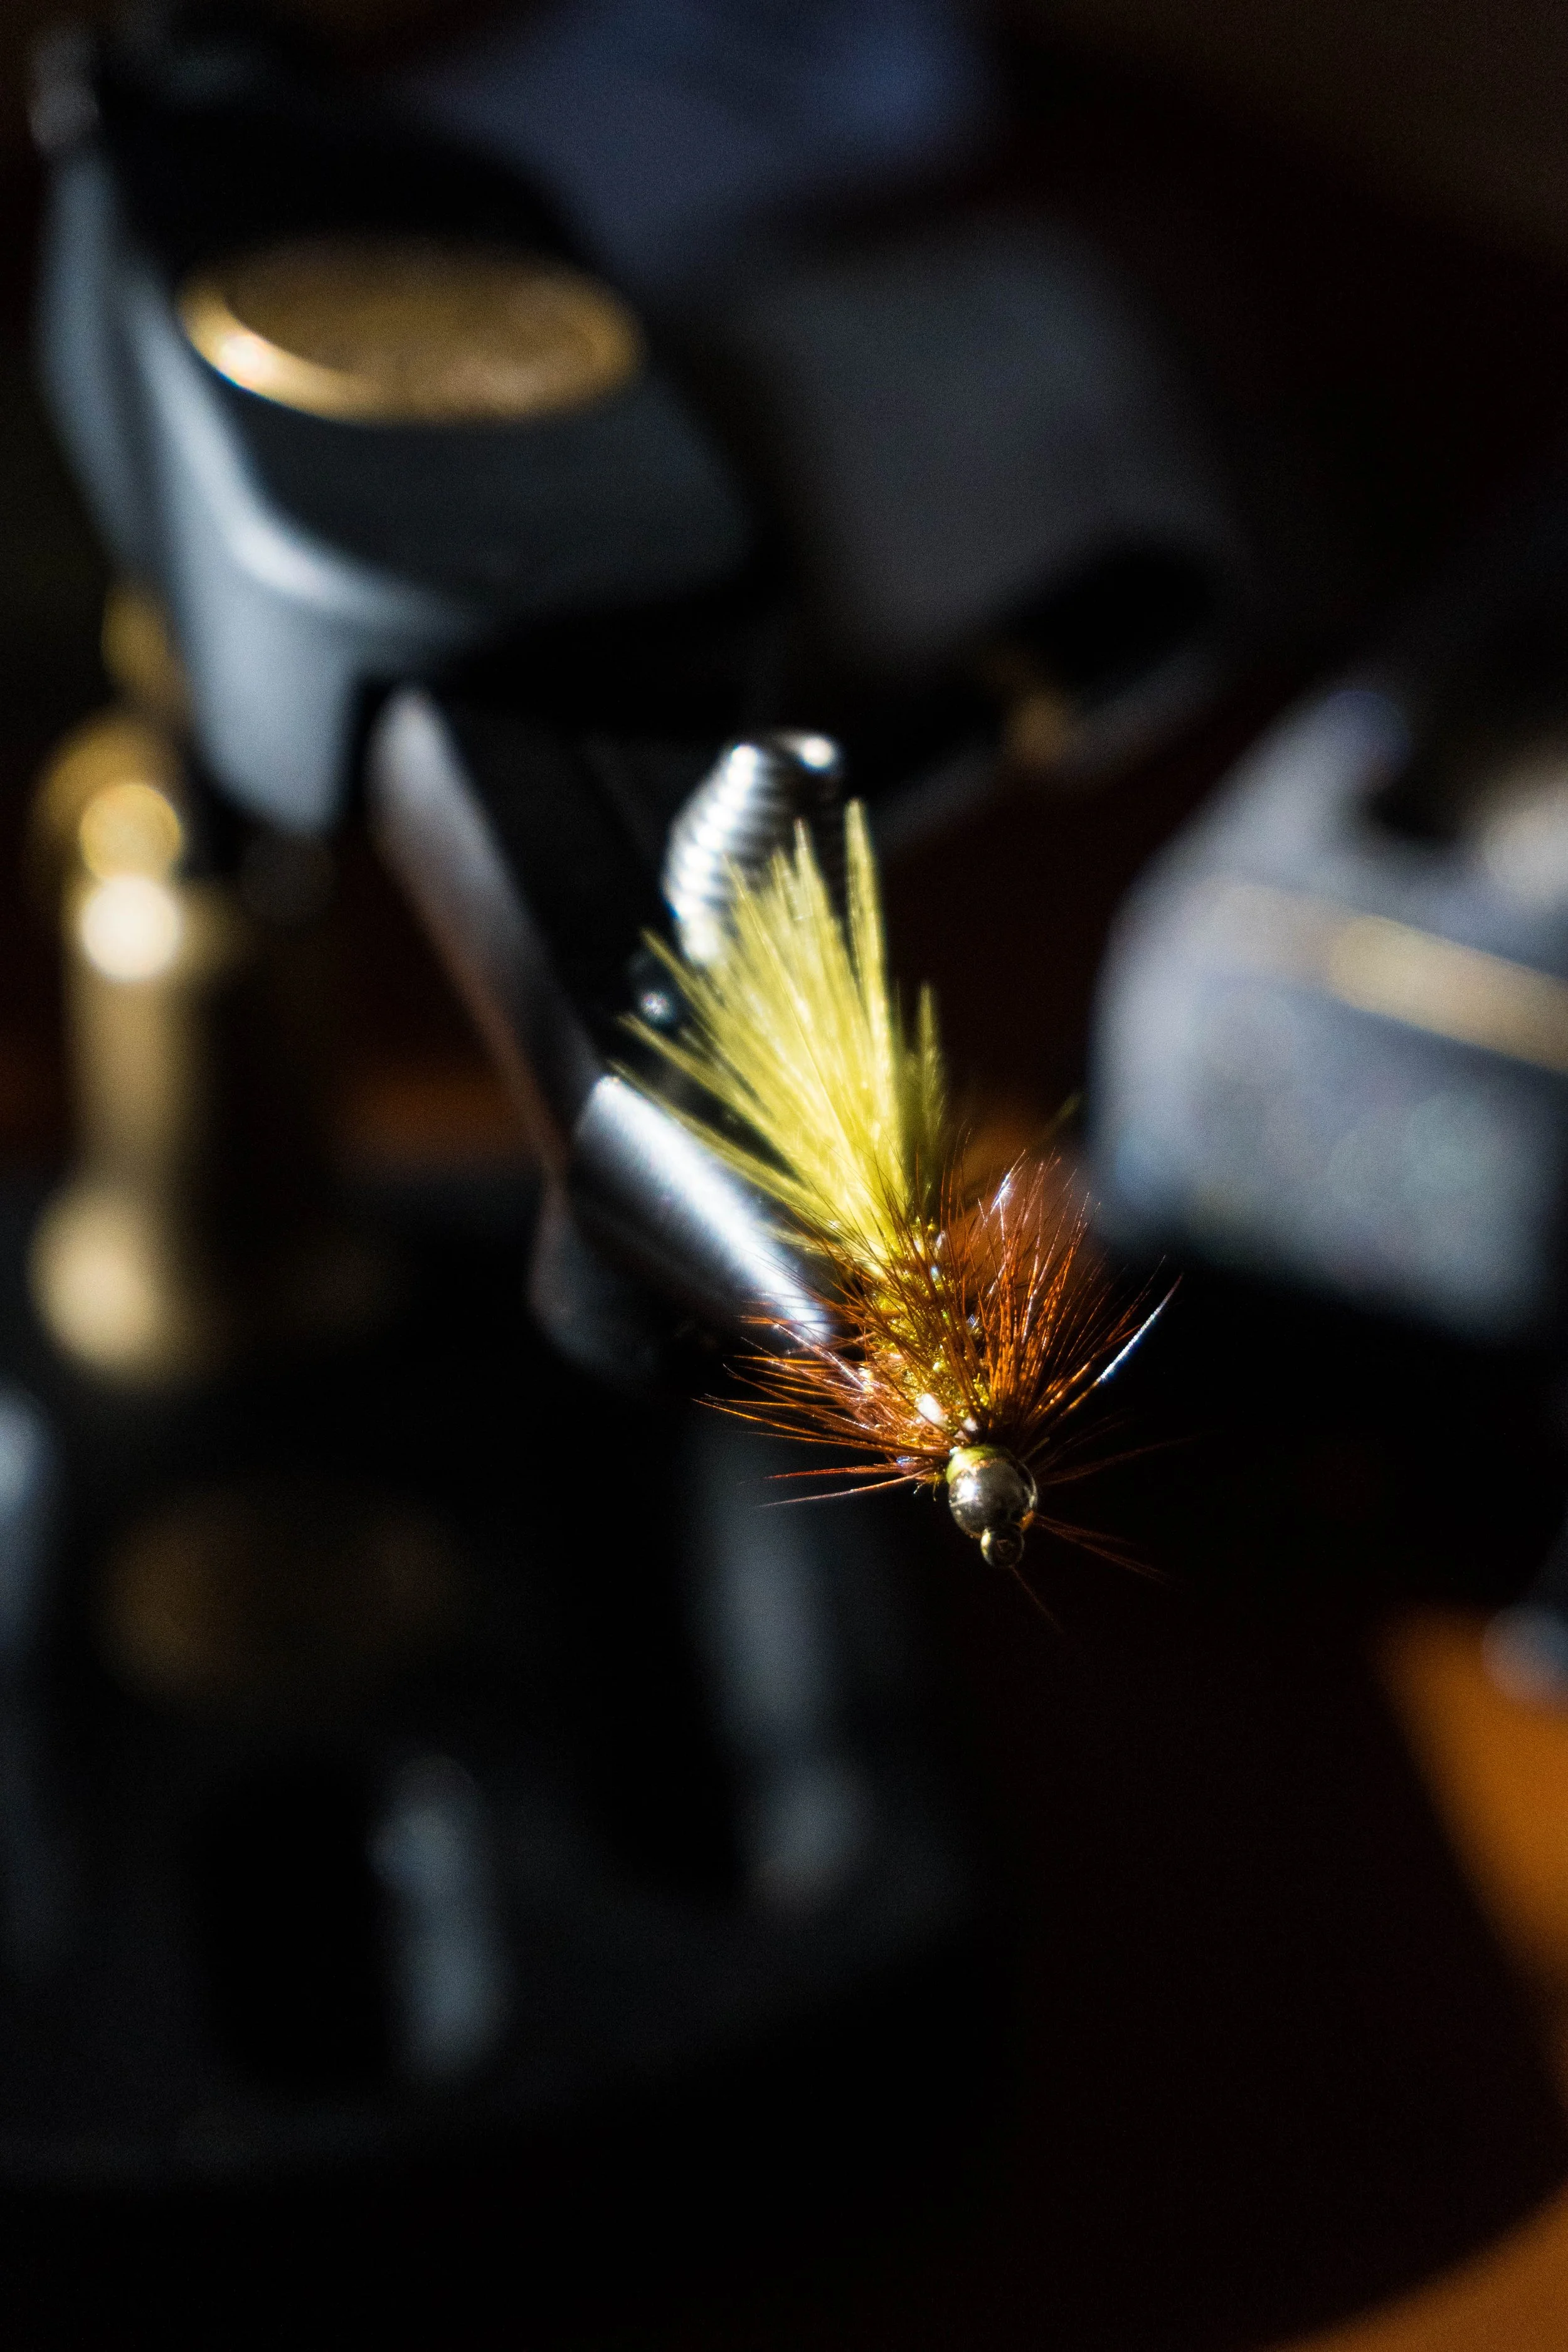
The Woolly Bugger Recipe
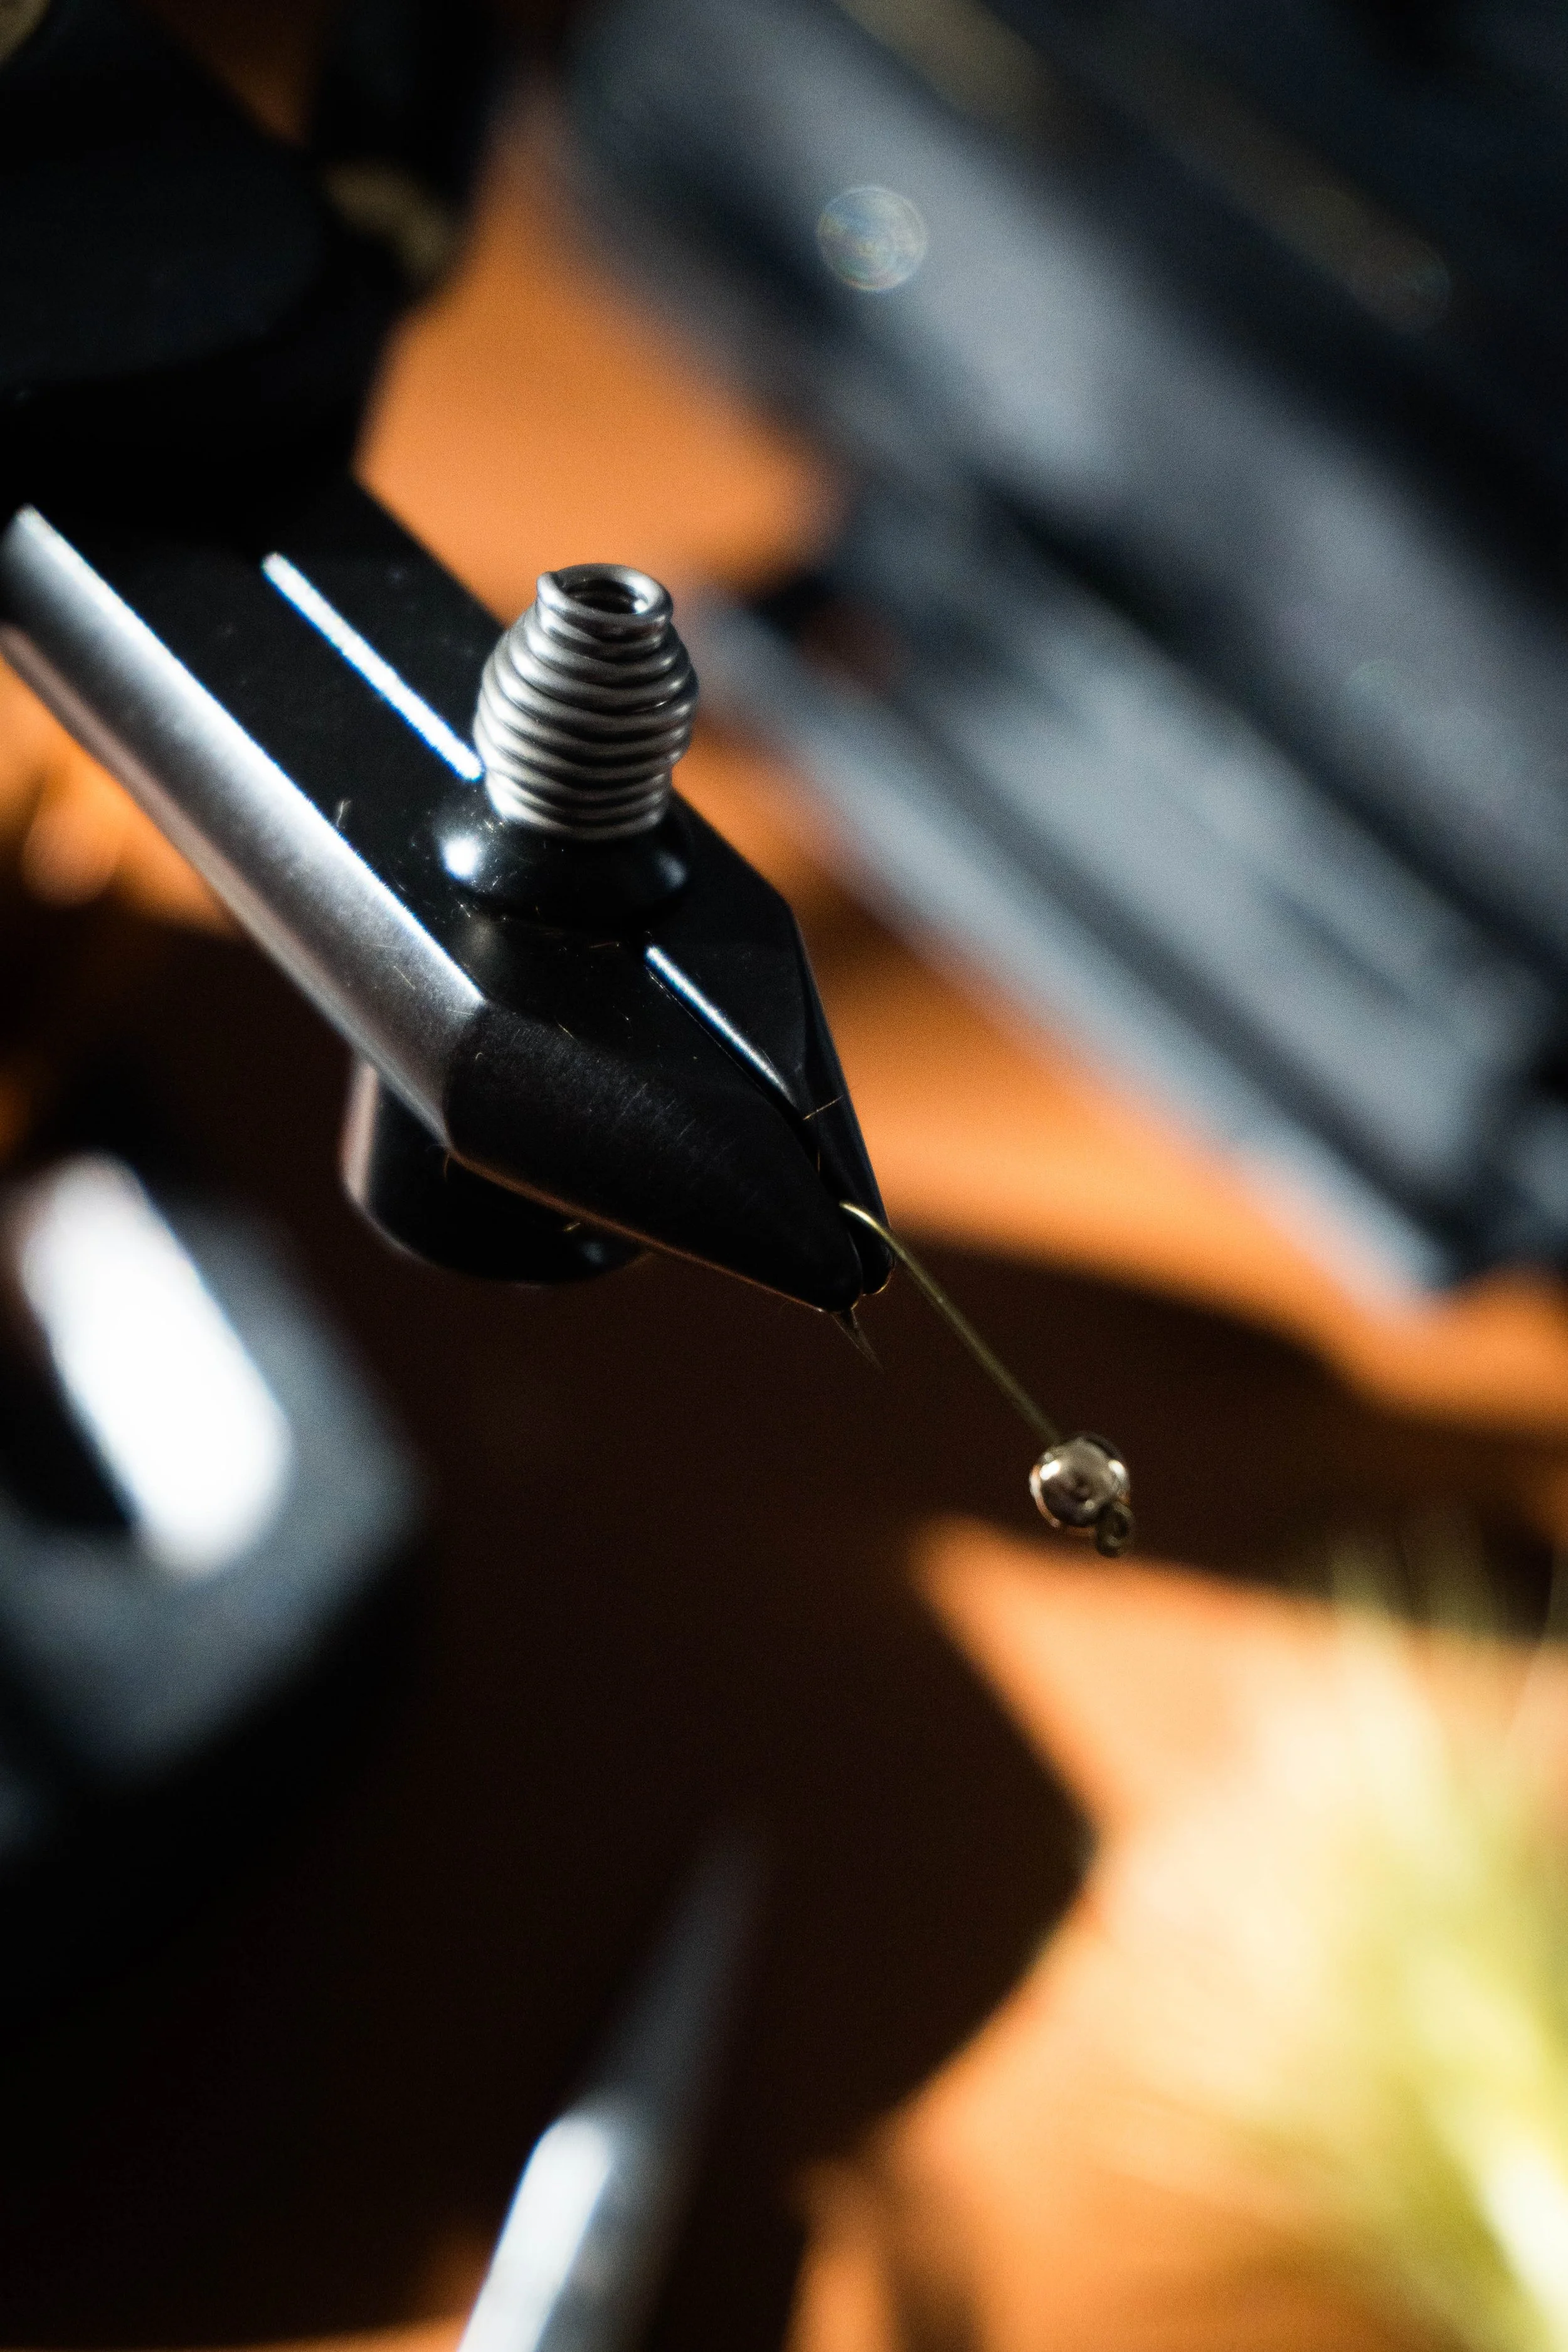
Size 10 nymph hook
1/8” Gold bead
Small olive chenille
Whiting Bugger Pack (coachman brown)
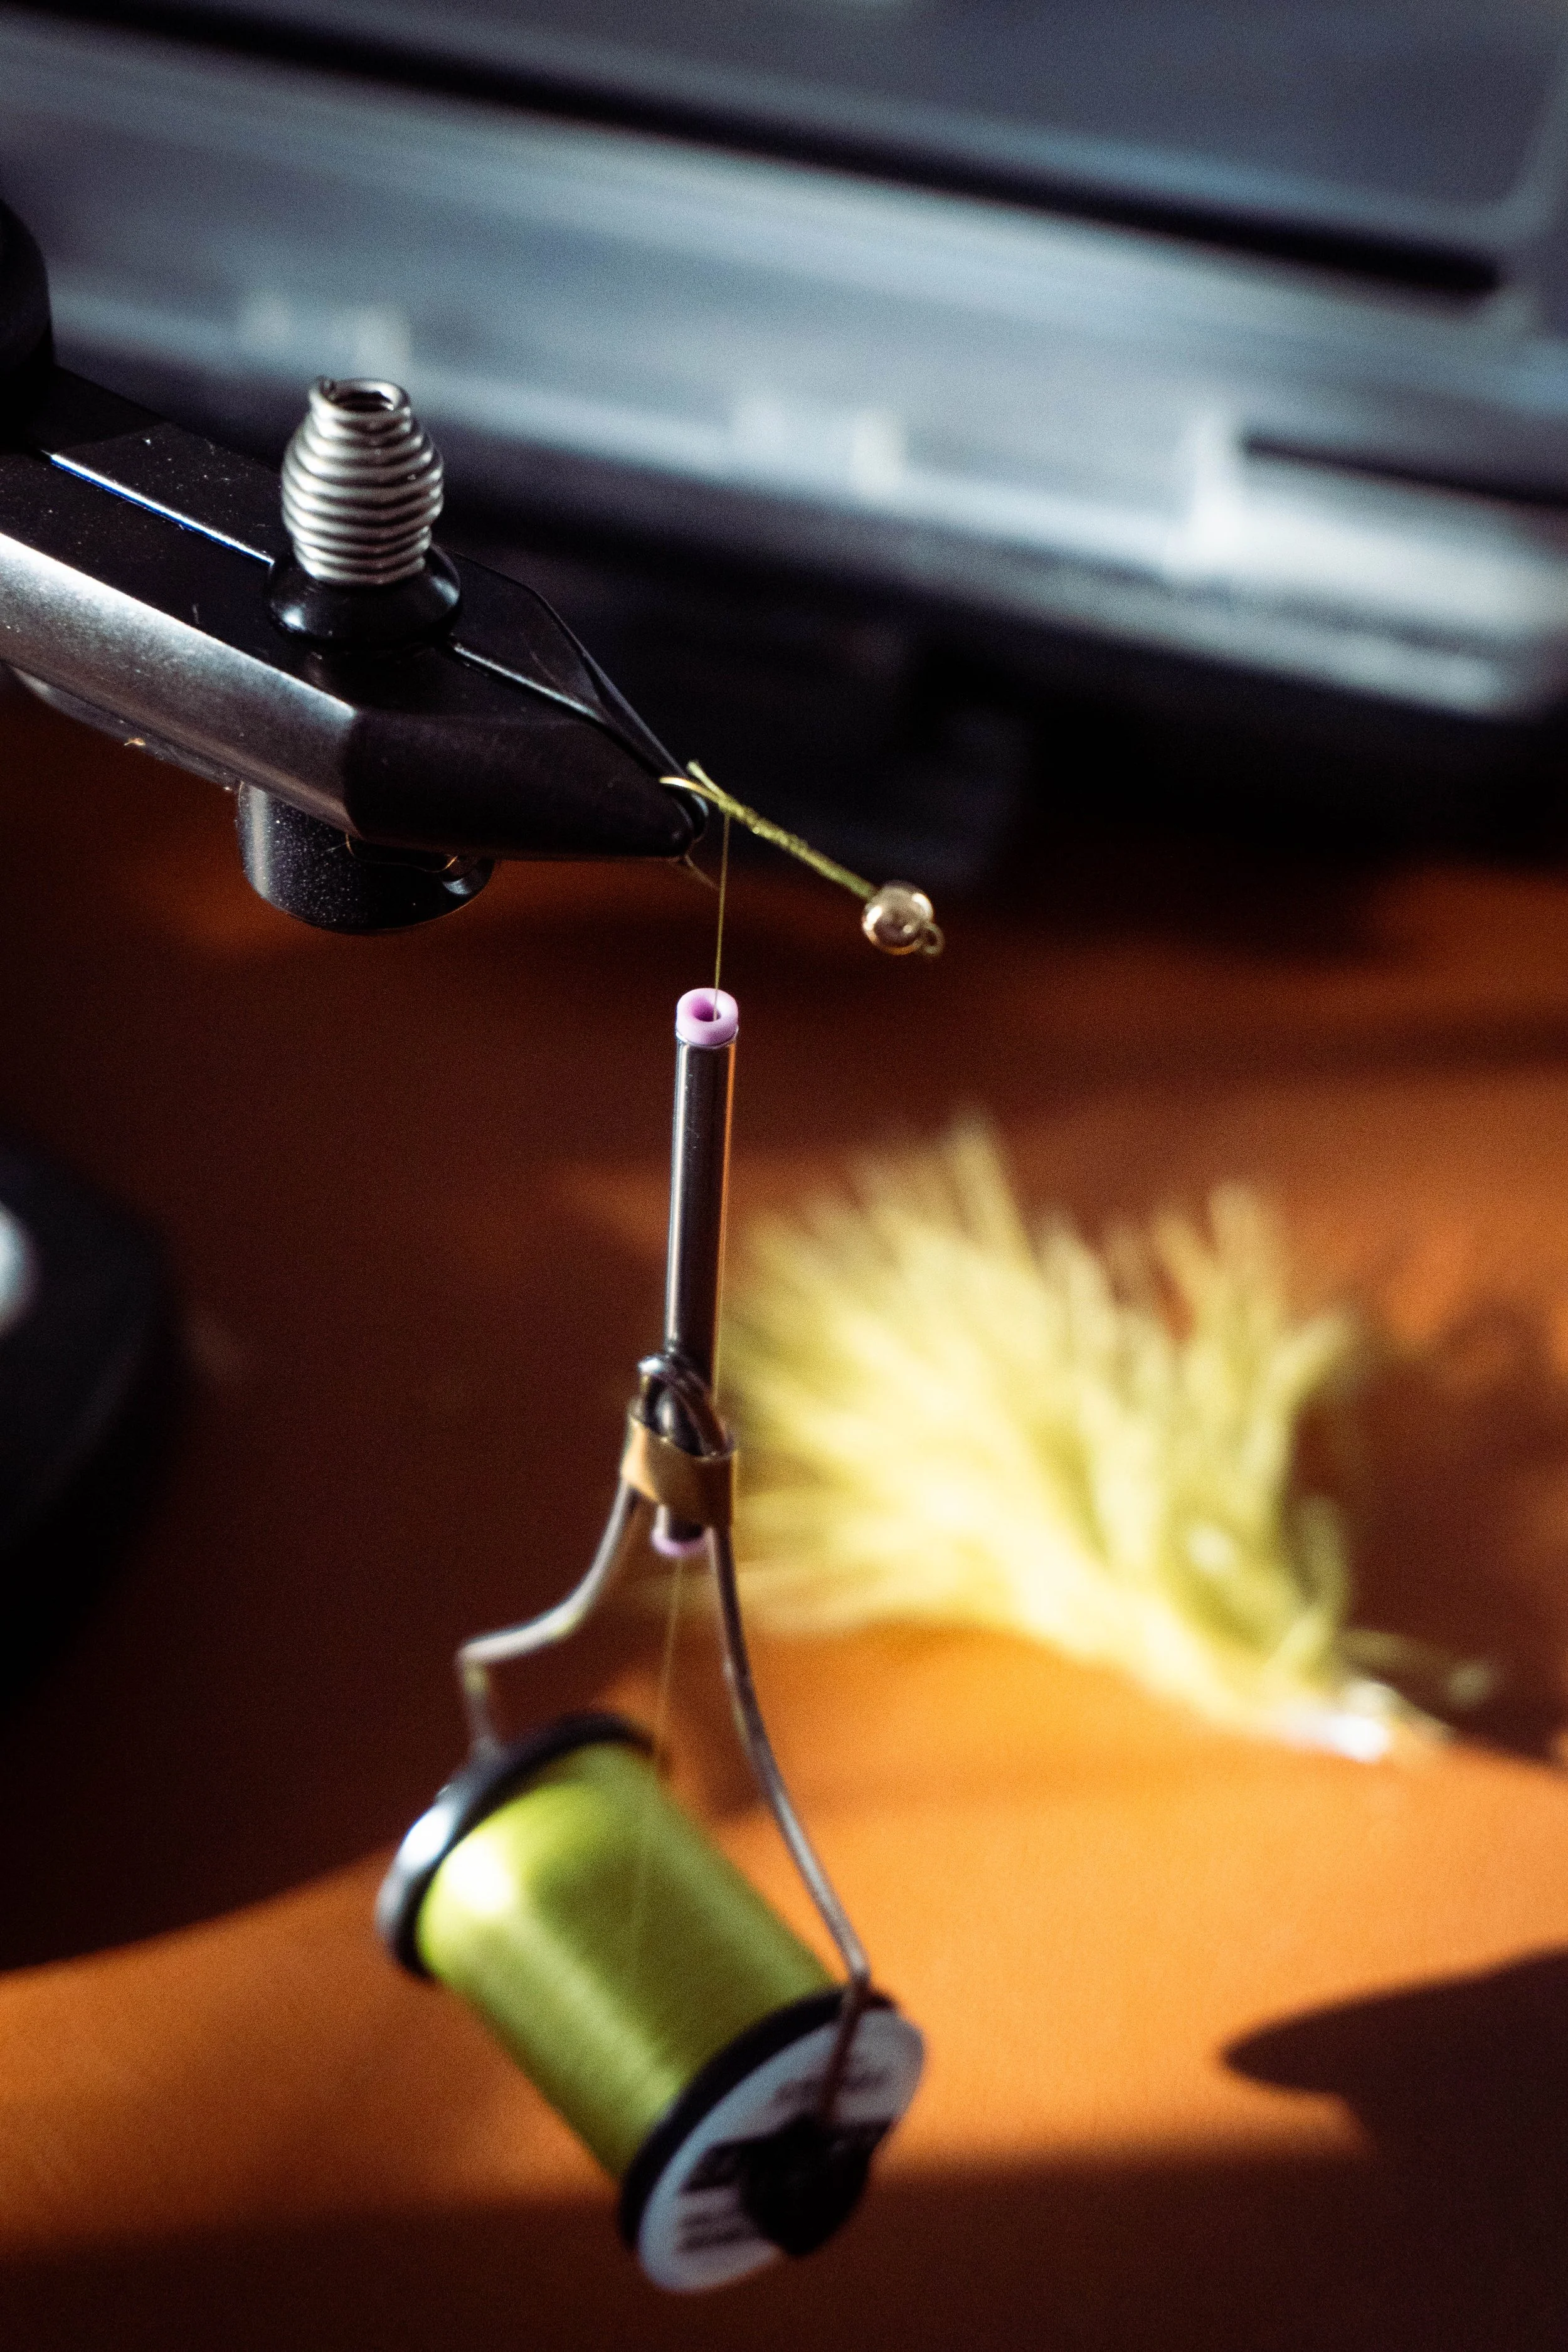
E18 Olive Veevus thread
Medium Olive Marabou
After knocking out two of these flies in the class, I immediately went downstairs to buy the fly tying materials so I could try it at home.
Tying the Pattern at Home
Sure enough, the next morning before I headed off to a doctor's appointment, I knocked out two new ones at size 10 (in class we did size 6).

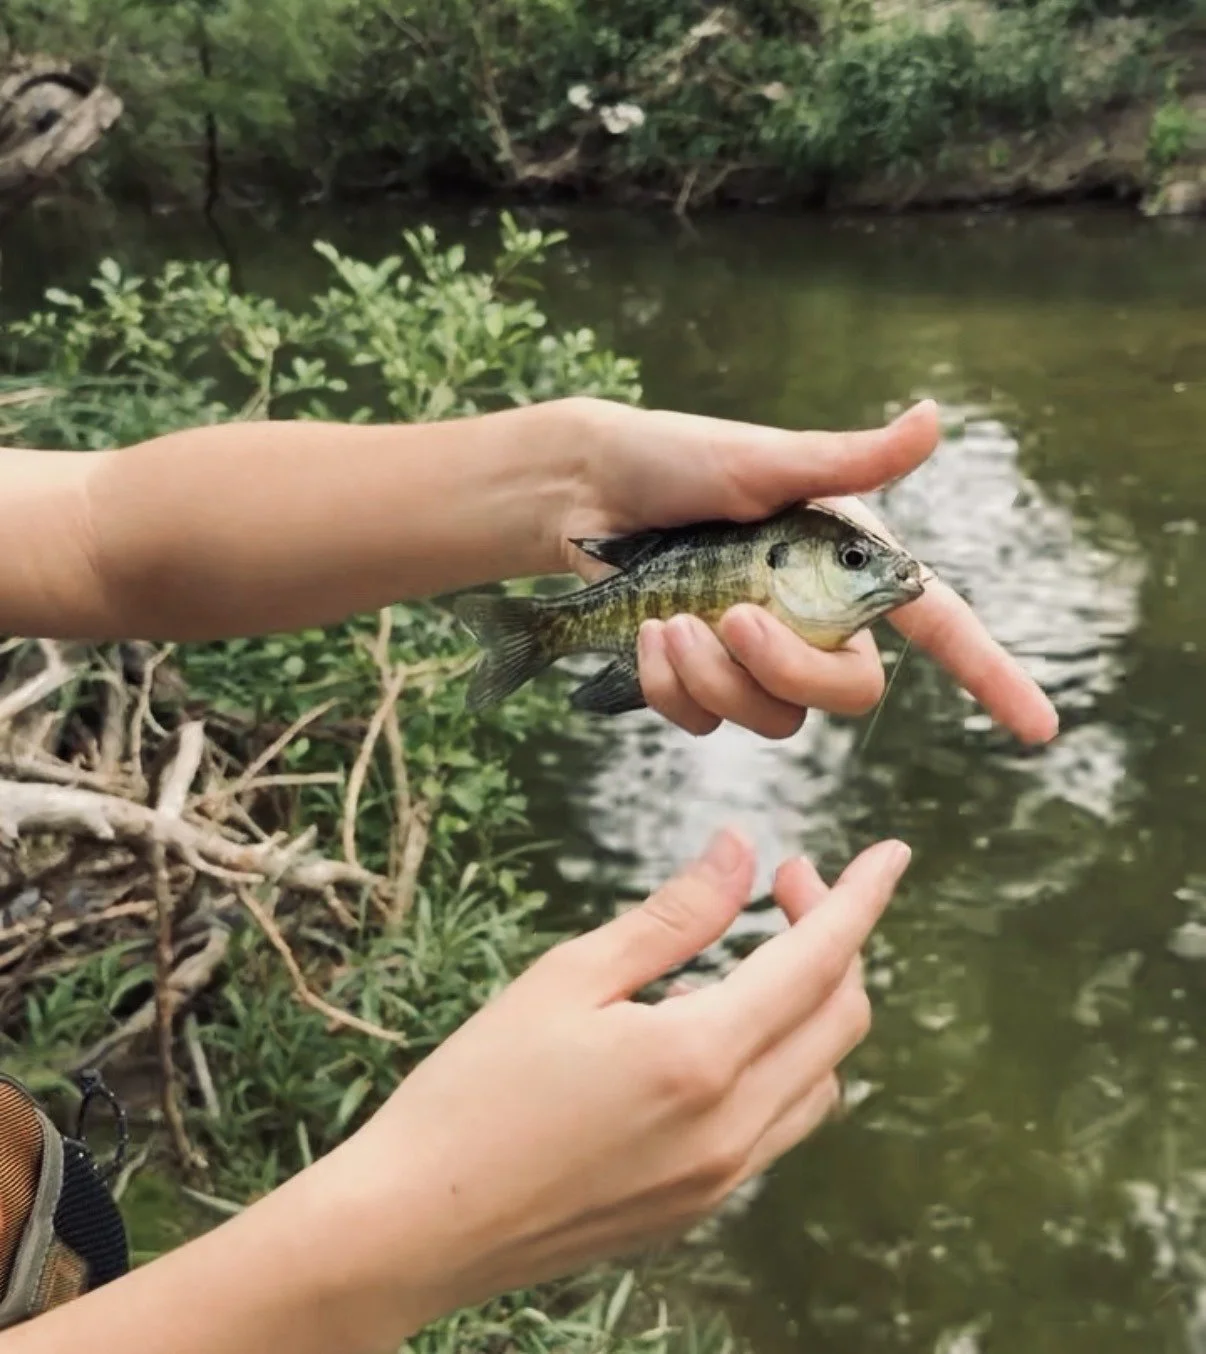
Later that evening, I took it out for a spin at a creek 10 minutes from my house. After casting a few times around some logs and planting my feet in the mud, I caught a really nice bluegill that ATTACKED it. This lil’ guy was so impressed by my fly and I couldn’t be more honored.
I had never fished a Woolly Bugger before. Safe to say, I'll be trying it again soon, and maybe experimenting with some new colors here and there.
Tight lines,
Vic