How to Pack for a Backpacking Adventure as a Beginner
Backpacking takes you on an adventure to different areas of the outdoors that may not be so easily accessible to regular travelers. You can get to those breathtaking views on foot and set up your camp next to them. Imagine opening your tent to an alpine lake view?!
If you’re new to backpacking and want to learn how to pack your backpack for your first adventure, you are in the right place! In this guide, I will break down what backpacking is, how to pack each compartment of your pack, and how to get your hands on affordable gear.

What is Backpacking?
Backpacking is an outdoor activity that involves hiking and camping in remote natural areas, carrying all necessary gear and supplies in a backpack.
The more extreme version of backpacking is thru-hiking. This is when you hike a long-distance trail in a single trip. It can be anywhere from 100 miles to 2,000 miles.
How to Pack a Backpacking Pack?
Packing a backpacking pack efficiently is crucial for comfort, accessibility, and balance during your hike. Let’s jump into where to place everything in your pack so you can feel confident getting outdoors!
Lay Out All Your Gear
Start by laying out everything you plan to bring. Seeing everything out in front of you can help you identify what you’re missing! Group items into categories like shelter, sleeping system, cooking gear, clothing, food, water treatment, and emergency items.
This is when a checklist comes in handy! I have one that I’ve put together to make it easy to pack by category with checkboxes to check off items as you go. Download it now for only a dollar.

Pack By Compartment
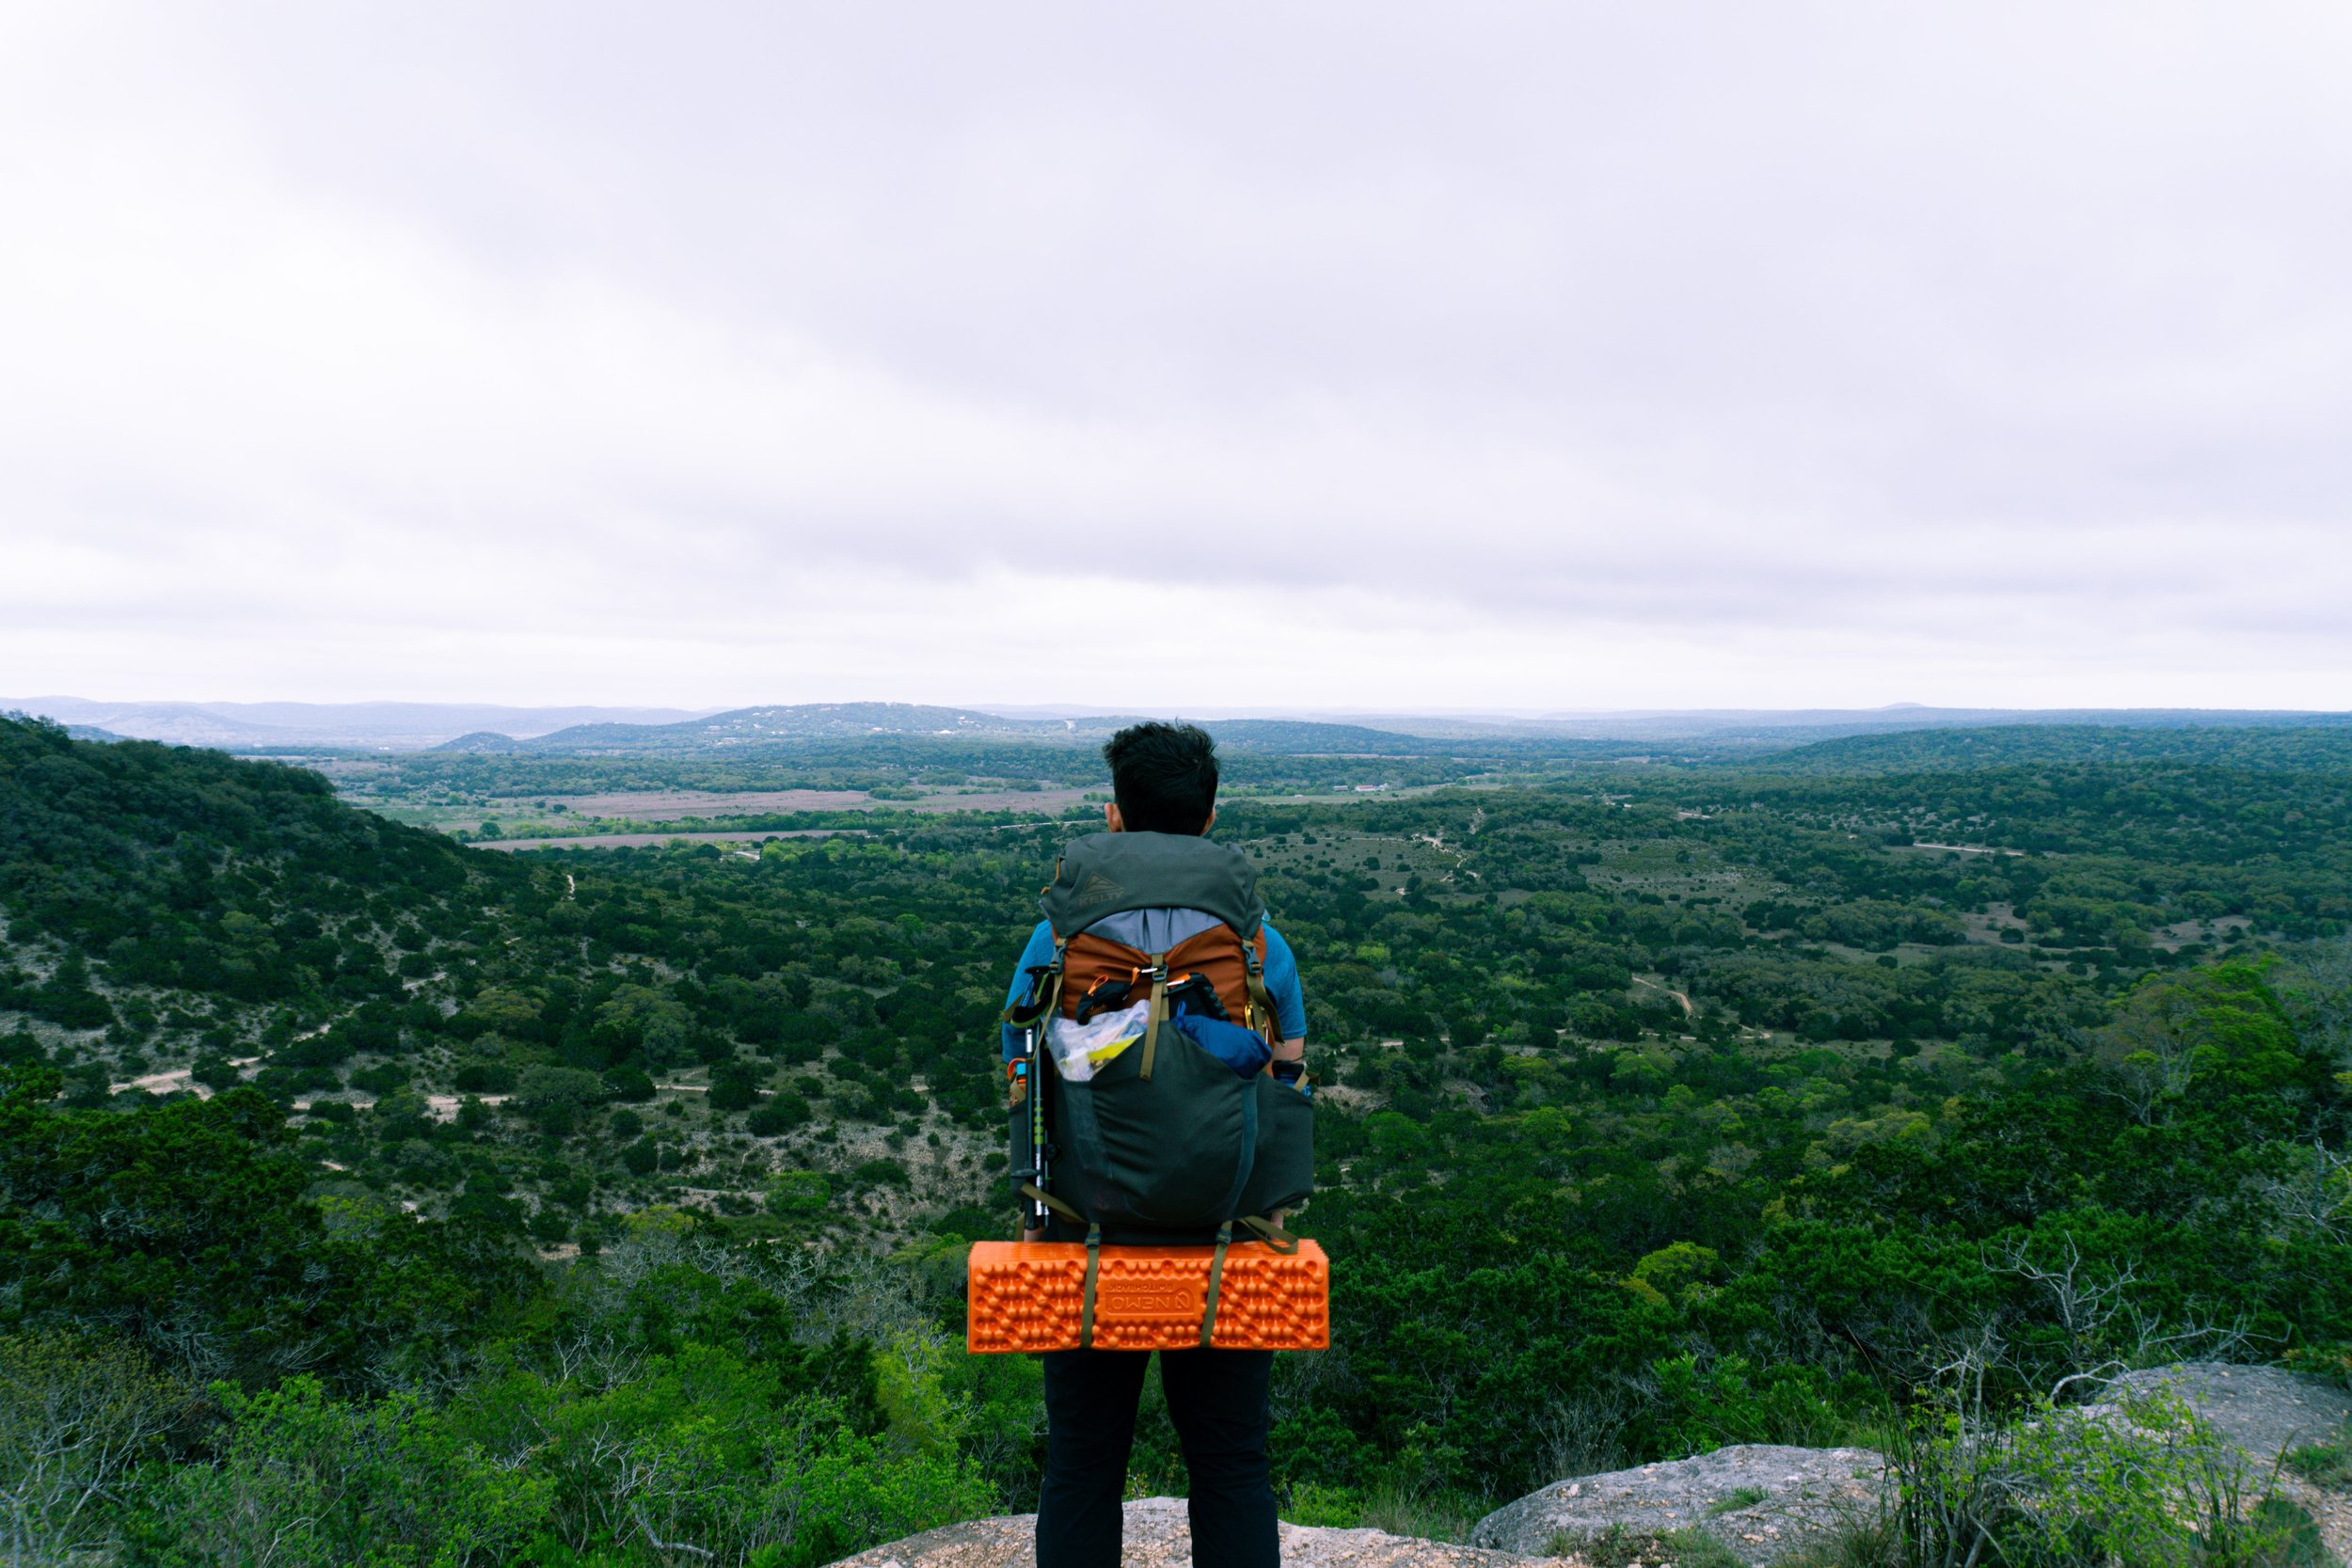
Bottom compartment: Reserve this for items you'll use at camp near the end of the day, like your sleeping bag or sleeping pad. Some packs have a dedicated sleeping bag compartment. If you have an inflatable sleeping pad, do not pack it at the very bottom because you can risk thorns, sticks, or other sharp objects puncturing it if you place it on the ground.
Main compartment: This is where the bulk of your gear will go. Pack heavier items close to your back and centered between your shoulder blades to maintain balance. This typically includes your tent, cooking gear, clothing, and food stash.
Top compartment (brain): Place items you need quick access to, such as a map, snacks, restroom baggy, or a first-aid kit.
Side pockets: Use these pockets for water bottles, tent poles, or a tripod. Anything tall or slim will be perfect to place here.
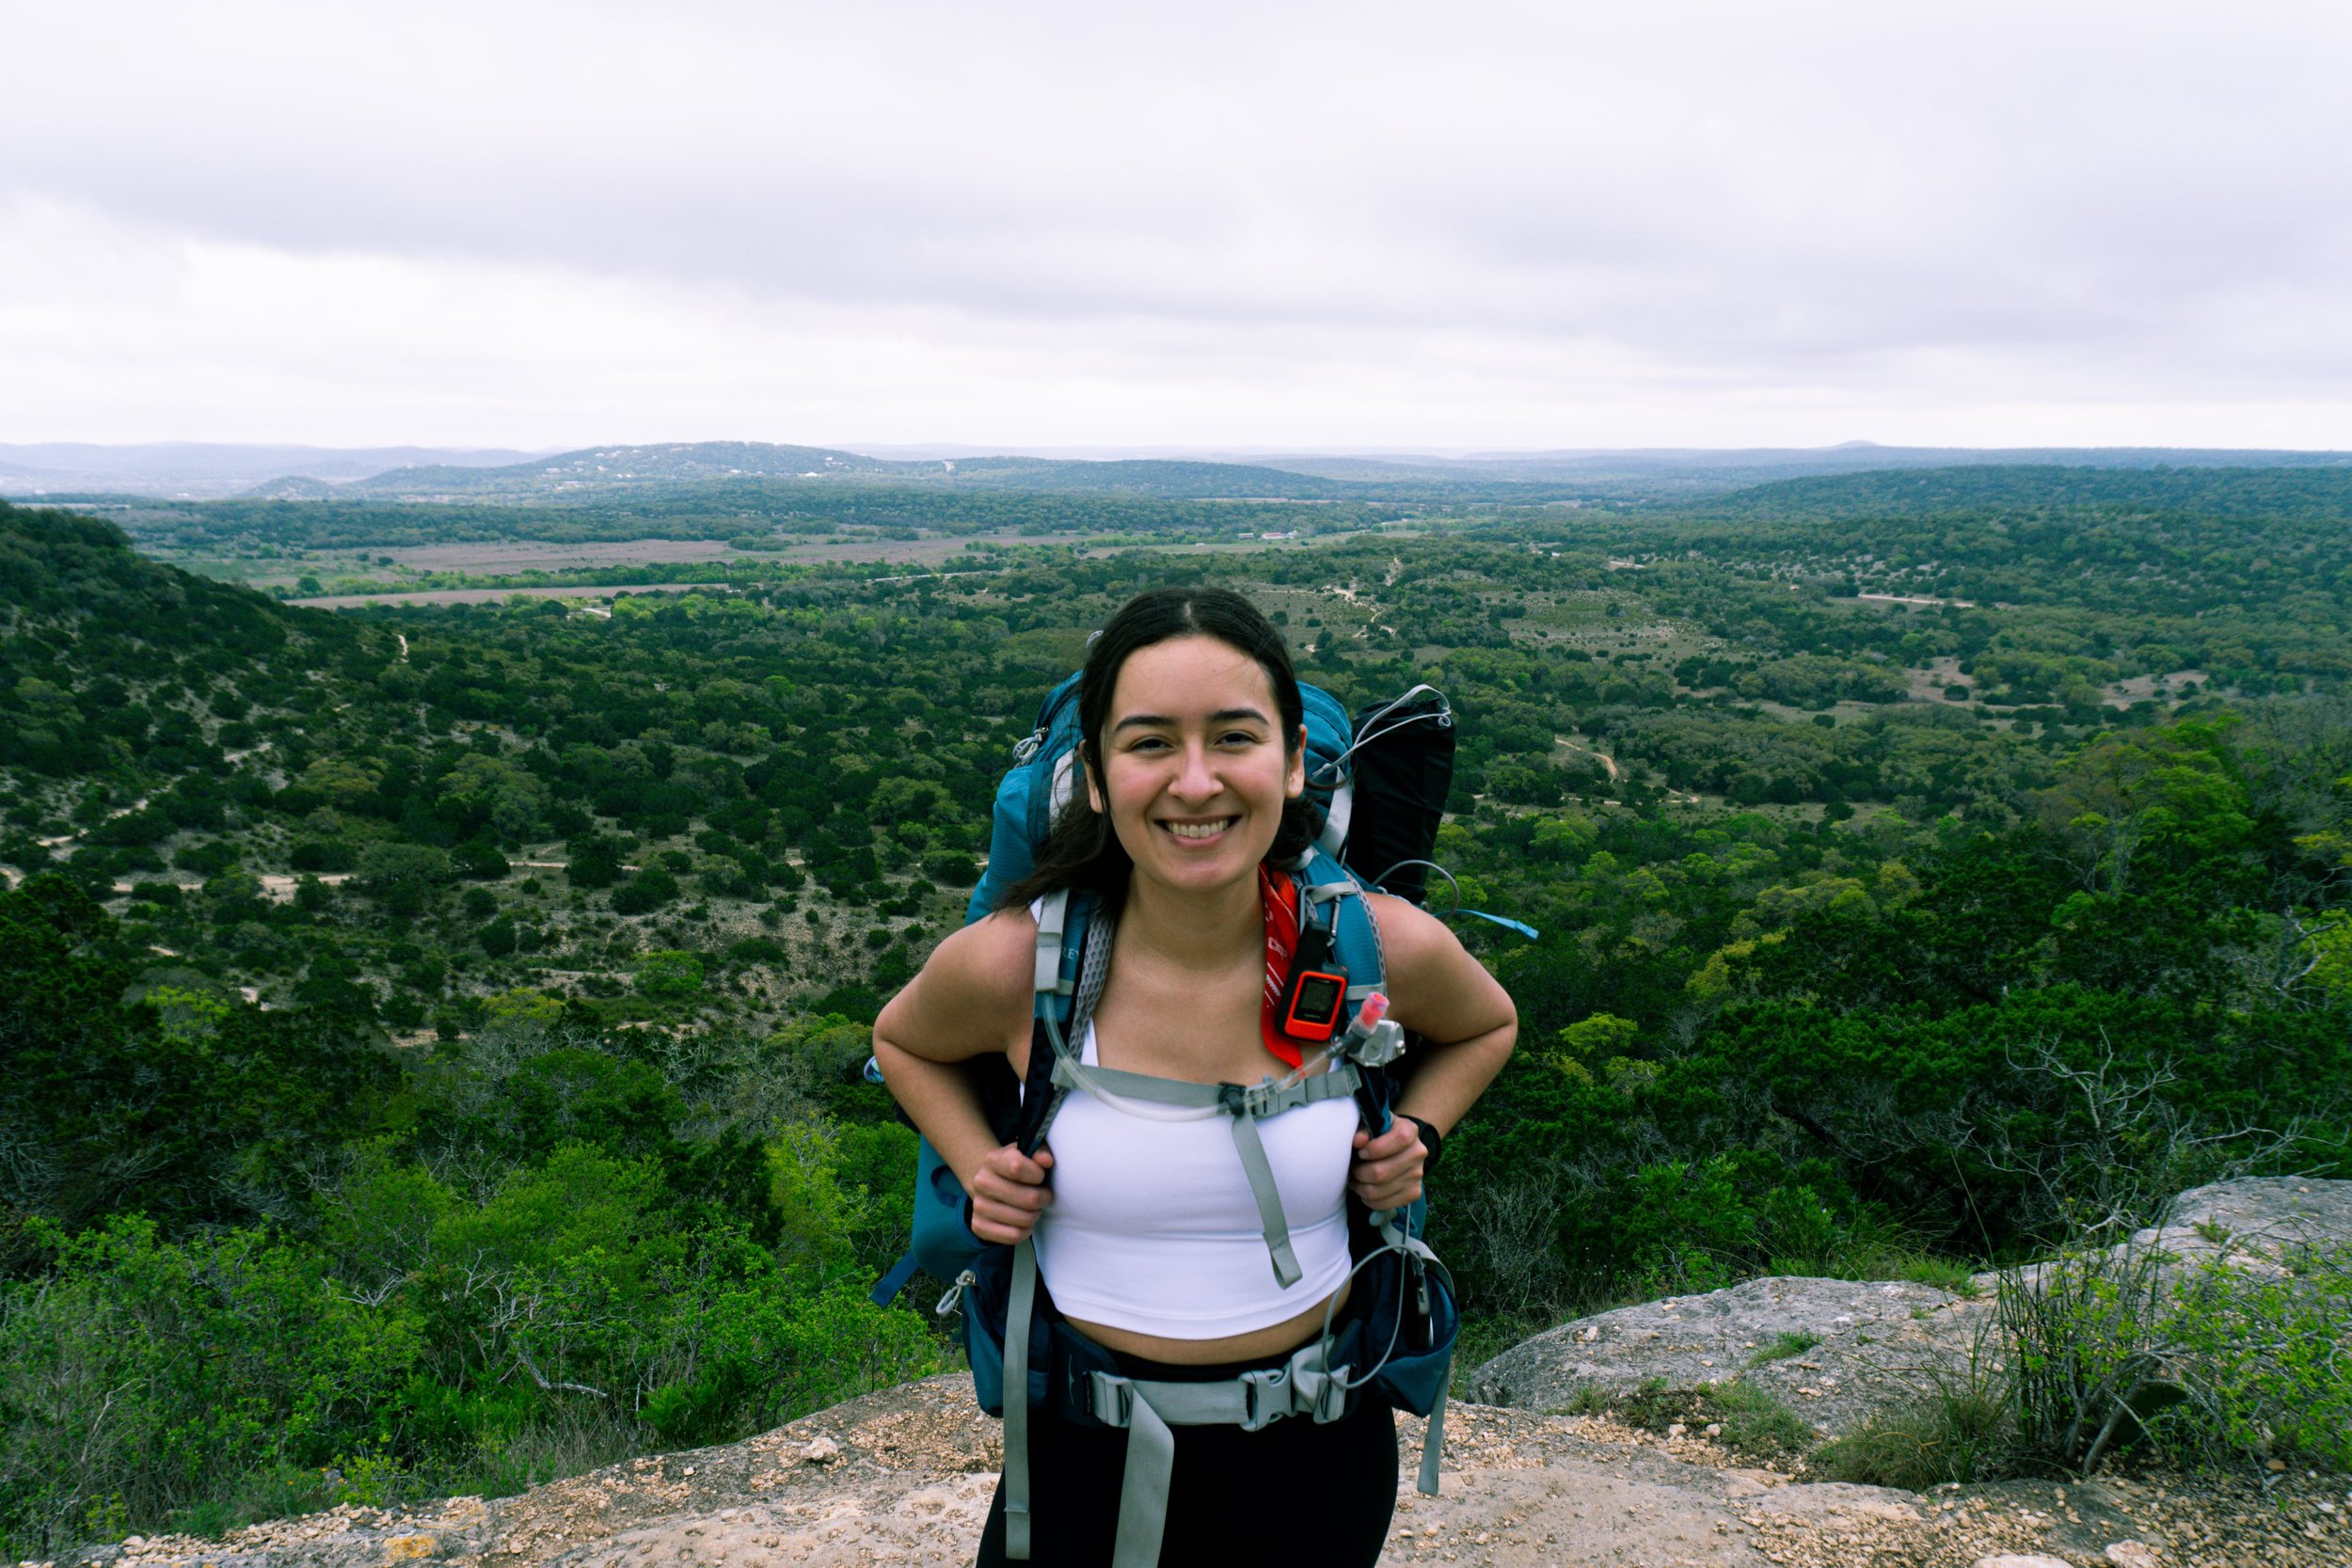
Hip belt pockets: Perfect for small, quick-access items like lip balm, a small camera, phone, or snacks.
External Straps/Attachments: Attach items like trekking poles, pee cloth, tent poles, or a foam pad externally if needed. If you have a large mesh pocket on the front of your bag, you can use this section for sandals or your rain jacket for quick access. Be careful with how you place these items because they can get snagged on things while hiking.
Quick Tip: If you’re wondering how to pack clothes in a backpack, you can use a stuff sack and turn your clothes bag into a pillow!
Pack in Layers
Bottom layer: Lightweight, non-urgent items (sleeping bag, sleeping pad).
Middle layer: Heavier items (food stash, stove, bear canister if required). Keep these centered and close to your back.
Top layer: Lighter, bulkier items (clothing).
Always Do a Final Check
Once packed, adjust the compression straps to eliminate any empty spaces that might cause gear to shift. Do a final walk-around of your pack to ensure everything is secure and nothing is hanging loosely.
Practice with Your Pack
As with anything, practice will help you discover what works for you and what doesn’t. It's a good idea to carry a test pack and go for a short walk or hike to feel the pack and make adjustments. This test can help you discover what items are adding too much weight or may not be needed anymore, like a book or bulky pillow.
Quick Tip: Make sure to pull in those load lifter straps at the top of your shoulder straps to remove some of the weight from your shoulders.
Where to Get Affordable Backpacking Gear
Borrow from Friends: Friends are always a great place to start. Borrowing gear can help you get outdoors for no cost, and it also allows you to become familiar with gear you could potentially get in the future. Don’t forget to thank them!
Rent: There might be local outfitters in your area, like an REI, that have gear available to rent for your trips. If you’re only planning on going backpacking a few times a year, this option may be good for you!
Gear Swaps: Do you have old gear that you no longer need? Find a gear swap near you to get your hands on some low-priced backpacking gear.
Backpacking Tips to Get Outdoors
Wilderness backpacking gives you the opportunity to disconnect from the hustle of everyday life, engage physically and mentally with nature, and experience terrain that is only accessible by foot. Packing your backpack with everything you’ll need for your adventure will ensure you are confident and comfortable, so all you have to worry about is making it from point A to point B.
I hope this guide helps you pack everything you need for your first backpacking adventure!
What places are on your backpacking wishlist? Leave a comment!
📍 Save This Pin to Bookmark this Post

This blog post contains affiliate links for products I love, meaning I get a commission if you decide to purchase through my links, at no cost to you. Thanks for your support!